Showing posts with label Brown. Show all posts

Wednesday, November 21, 2012

Fall Paisley

Hey guys! Check it out, two posts in a week!! I've gotten pretty much caught up on homework and projects that are due in the next few weeks, so I've got some time! Yay!!

Today I did another fall related post, I was hoping I'd have leaf image on one of my plates, but I didn't so I improvised. I used Zoya Austine and Barielle Gold Digger as a gradient using a makeup sponge. These two look beautiful together!! I did the sponging twice on each nail so that it was a little more opaque. I then used Bundle Monster BM-315 plate, along with Kleancolor Espresso to stamp the paisley image onto my nails.

The look is very understated and I absolutely love it! They aren't so in your face, but just soft and beautiful! Perfect for fall :)

The last pic btw is to show you that I make a mess like everyone else when I sponge and stamp! haha :)


What do you guys think?

Until next time! Happy painting!


Pin It!

Sunday, November 18, 2012

Brown and Gold for Fall!

Hey guys!! Yes I know you're in shock that I'm posting! I've been keeping up a bit more with my Facebook page (link is on the side, go like me!) because it's quick and easy to do from my phone. But for the most part I have been SLAMMED with school!! Only a month left until break!

So today even though I'm not a huge fan of really dark colors I decided I wanted to do some brown. Thanksgiving is less than a week away so I figured it would be appropriate. Doubt it'll be on more than a few days, but ya know ;)

So I've got two coats of Orly Buried Alive as a base, its got this beautiful golden shimmer in it, and then I did a glitter gradient with Essence Snow White The Huntsman, which is this super pretty golden glitter. I'm digging the end result!


What do you guys think?

Until next time! Happy painting!


Pin It!

Thursday, August 30, 2012

Julep Suede Amber, Me!

Hey guys! Here today with something I never thought I'd have, a polish with my name, that isn't orange!!

So I had heard about, and also seen on FB that Julep was coming out with a few suede polishes, but since I hadn't gotten one in my Julep Maven box, I hadn't seen them in person yet. So after class I stopped by Sephora, because well it's on my way to the interstate so why not? ;)

Saw the suedes and about fell over dead when I saw "Amber", it would be better if it was pink, but I'll take it! It looks very similar to OPI You Don't Know Jacques Suede, but since I haven't compared them side by side yet I don't know how dupe-y they are. But I also figured I couldn't go wrong with a suede, so what the hell!

This is two coats, with no top coat since that would take away the finish. It applied easily and dried super fast!


What do you guys think?

Until next time! Happy painting!

Pin It!

Thursday, August 9, 2012

Pirate Treasure Map Tutorial

Hey guys! Here today with a new tutorial of my pirate treasure map nails. So many of you seemed to love them, so I figured I would show you how :)

I haven't figured out quite how to do a video tutorial yet so this one is just step by step pictures on how I achieved the look :)

First we have the materials I used to complete the entire look, Zoya Shay, Nubar Spark, Sinful Colors Mercury Rising, Wet N Wild Ink Well, OPI The Color Of Minnie, Migi Nail Art pen (the green side), nail art brush, nail dotting tool, makeup sponge and tweezers.


I started with two coats of Zoya Shay on all of my nails, or for this instance on 3 nails of a nail wheel. The easiest way I have found to do sponging is to use tweezers to hold a small piece of a makeup sponge that way I can get into smaller spaces without making a huge mess.


Using Nubar Spark I sponged around the outside of the nail, then repeated the process with Sinful Colors Mercury Rising. The first and second nail have just the Nubar, the third has both Nubar and Sinful Colors.


Using a nail art brush and Wet N Wild Ink Well draw an outline of a skull.


Using the nail dotting tool and the Wet N Wild Ink Well fill in the skull shape.


Once again using the nail art brush make an X under the skull, then using the nail dotting tool add two small dots at each end to make them look like bones.


Using the base color, and either the dotting tool or the nail art brush, add eyes, a nose and lines at the mouth. Then you're done with the skull and crossbones!


Using OPI The Color Of Minnie and the nail art brush, create random lines for the trail to the X that marks the spot.


Repeat the process on how ever many nails you want the trail to go over, then add a big X at the end. Using the nail art brush and Sinful Colors Mercury Rising draw a line for the tree bark, and with the Migi Nail Art pen green draw on a few branches for the palm tree. Using the dotting tool add a few little dots for coconuts on the tree.


And now you're done with the whole look! What will you find in your treasure chest??


What do you guys think?

Until next time! Happy painting!

Pin It!

Thursday, July 26, 2012

Giraffe or Turtle?! You tell me!

Hey guys! Here today with what I consider a bit of a confusing post :P

I recently got the new set of Bundle Monster plates in the mail, so I've started to play with them a bit. I'm still a newb when it comes to stamping, but it really is fun. I guess it's just like everything else, practice makes perfect!

I had never done a giraffe print, because let's face it, it's not the easiest thing to do by hand, so when I saw there was a giraffe and the negative of it on BM-313 I was excited!

I started with two coats of Color Club Almost Famous, then I used Sinful Colors Mercury Rising (ugh I'm still mad at them!! and this was done before the whole stealing from our community thing) for the stamp (BM-313). So my idea was to do every other nail with negative image, that way it was the same but different all at the same time.

So why the name of the post? When I posted pics of this in one of the polish groups I'm in on FB a few of the girls said the ones with more brown look like a turtle shell! So of course once I read that I couldn't unsee it from my nails! But honestly it's true, it does! It got me thinking that I might actually do a turtle shell mani now with different colors :P

So what do you guys see?


Second picture isn't color accurate as I'm still having some issues with my camera **grr**


What do you guys think?

Until next time! Happy painting!

Pin It!

Tuesday, July 3, 2012

Summer Fun Challenge, Road Trip, ARGH Mateys!!

Hey guys! Back today with post (or day) 5 of Lindsey from the Neverland Nail Blog's summer fun nail art challenge.  Day 5 is "are we there yet" so road trip or vacation mani. I had planned to do some map type thing with Route 66, but then I changed my mind, big surprise there huh?! :P

My monkey butt's (Brendan) 2nd birthday party was pirate themed, so I had actually come up with this idea back for his party but didn't have time to do it, due to the fact that I was hosting his party. So now is the perfect time!!

There is a little bit of a back story to get you in the mood ;) You and your partner go on a vacation alone to the beautiful beaches of Maui, while you are building a sand castle, you come across an old tattered piece of paper, and this is what you find!

I used Zoya Shay as a base color then I sponged on Nubar Spark and Sinful Colors Mercury Rising around the edges to get the old paper feel. I used a dotting tool and a skinny nail art brush to freehand the skull and crossbones on my thumb with black, then did the eyes, nose and mouth with Zoya Shay again to match the background. I used OPI The Color of Minnie to do the dotted line and X, and the the SC again for the trunk of the palm tree, and the green is in this little nail art pen thing my mom gave me.


What do you guys think?

Until next time! Happy painting!


Pin It!

Saturday, March 31, 2012

Monkey Butt nails!!!

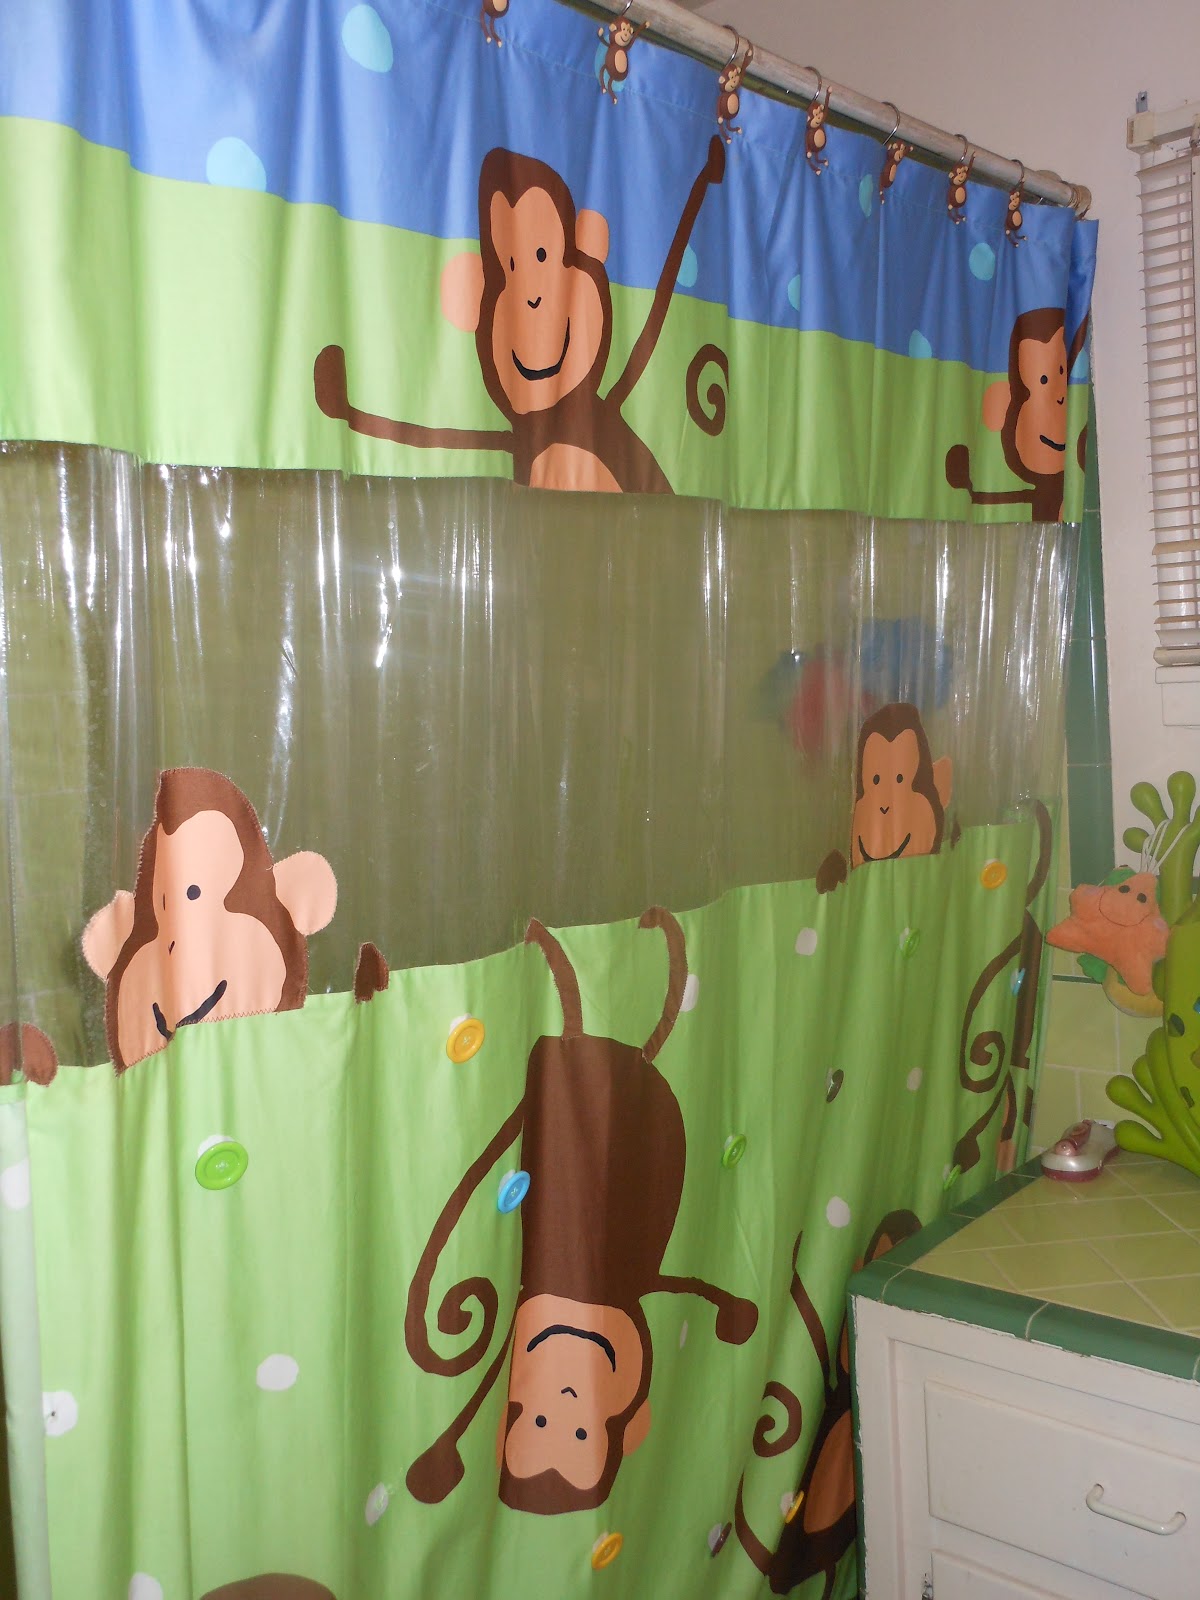
Hey guys! After my cupcake post a few days ago, I got to walking around my house again looking for inspiration, and I found it in a strange place! Our bathroom! I think the origin of me calling our son "monkey butt" was because while I was still pregnant we decorated what then was to be our sons bathroom in monkeys. We have since moved and now the main bathroom is the one we share with him, all decorated in monkeys! Target is awesome ;) So anyway I did today's nails after the shower curtain we have :D We also have towels and everything else in the bathroom that matches ;)

So I was a bit disappointed when I looked at the pics, I smudged the black from the faces a bit, and it's my own damn fault. I did the noses the wrong way, so I went back over it with the nude color and did the noses over again, and I guess I didn't wait long enough before my top coat :( BUT it's still adorable!

The green background on these is Color Club Twiggie, two coats and it was good to go. The blue on the two nails is Zoya Jo (man she's gorgeous!) two coats of her as well. The brown for the monkeys is Kleancolor espresso, yea I know I use this a lot but it's my only brown! and the nude is Zoya Shay. Oh and you guessed it! My two favorite nail art tools, dotting tools and long skinny nail art brush!


So how do you think I did? Does it match well enough?

BONUS!!! My super amazing monkey butt! This was at the park yesterday, he was playing with one of those dog poop bags, don't worry, it was empty! lol


Until next time! Happy painting!

Pin It!

Thursday, March 29, 2012

Cupcakes!

Hey guys! Today's post is fun! I walked around my house looking for inspiration, and I found it right away in my kitchen! I got this adorable little decorative plate at Ross for $3.99 that has a cupcake on it, and for those of you that don't know, my kitchen is decorated in cupcakes :) So I copied the plate and was super pleased!

For this super fun mani I used 2 coats of Funky Fingers queen cupcake on all 4 of my nails excluding the ring finger, which I used two coats of Zoya shay. The pink dots are OPI flower to flower, the brown are Kleancolor espresso, and then just white. Using the same colors I made the cupcake on my ring finger to match the one on the plate. I've always been a fan of the browns and pinks together, I think it's gorgeous, so it's about time I put it on my nails!


What do you guys think?

Until next time! Happy painting!

Pin It!

Sunday, March 25, 2012

Spring Robin's Eggs

Hey guys! Here today with another spring mani! It's that time of year that we start seeing birds building their nests in the trees that are all sprouting bright green leaves, spring is my favorite time of year! It's awesome waking up and hearing the birds chirping with the sun out :D call me corny if you must, but I love it! It gets too hot here in the summer, so I'll take all the spring I can get!

My inspiration today was robin's eggs, or maybe just another type of birds egg in general. I started with two coats of China Glaze shy high tops, I sponged on Zoya Jo, China Glaze first mate, and Funky Fingers Mrs. mint, and wrapped it all up with some random sizes of dots (to represent speckled eggs) with Kleancolor espresso.

First pic is no flash and the second is, wanted to show the different dimensions with the different blues that were sponged on, it looks really pretty!


What do you guys think?

Until next time! Happy painting!

Pin It!

Monday, January 2, 2012

OPI My Private Jet

Hey guys! This was another one of the dusty finds the same day as my Blue Moon Lagoon yesterday, it's not the holo version BUT I do have that one as well and will be posting shortly ;)

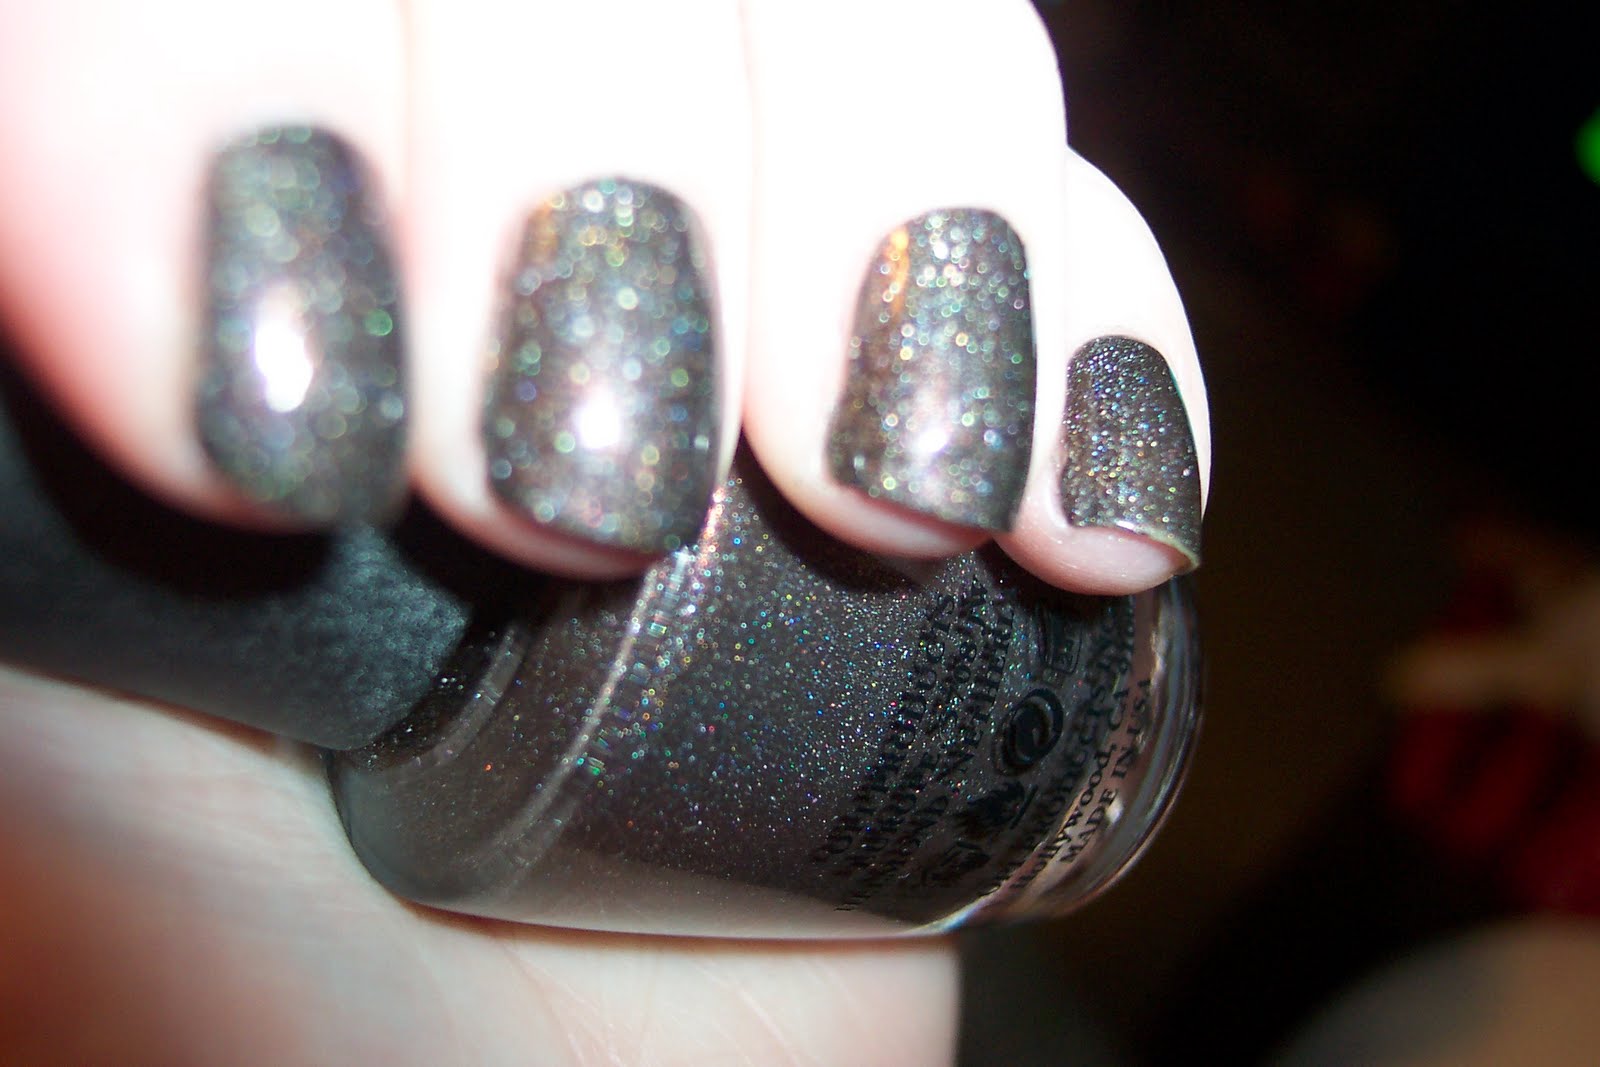
Took two coats to get it this color, and even though a lot of people refer to this as the "yuck brown" version, I love it! The funny thing is, I'm not really into browns either lol

Enough talk and on with the pics!


What do you guys think? Which of the 4000 versions of MPJ do you have? lol

Until next time! Happy painting :)


Pin It!